Sunday, October 28, 2012

Established 2010

Hi Guys,

Hope you had a lovely weekend! I did! My birthday celebration continued into the weekend...Friday night, I had dinner with my husband after which he gifted me with the Silhouette Cameo, which I got to play around with today!!!!!!!!!!!! To end the weekend, we saw one of my old Disney choreographers in a one man song and dance show in downtown LA at the Federal. Such a wonderful way to end the weekend.

My project for you today is my very first Silhouette project. I had been wanting to make a sign like this for awhile now, but part of me was waiting until my husband and I bought our first house. Peachy Keen's challenge this week though inspired me to make it a bit earlier. I am not 100% sold on how it turned out, so maybe I will use this one as a solid draft for a new one when Kyle and I eventually DO find a house!

I will be submitting this project to: Peachy Keen Challenge 41 "3-D Wall Art"


I think what bothers me about this wall art is that the balance is slightly off; I guess Kyle and I will have to add some babies over on the right hand side to fix that.

General Materials used:

  • Old Frame / cork board that I repurposed for this project
  • Silhouette Cameo for all of the phrase, letter, and number cutouts (I learned about the "offset" shadow function immediately!)
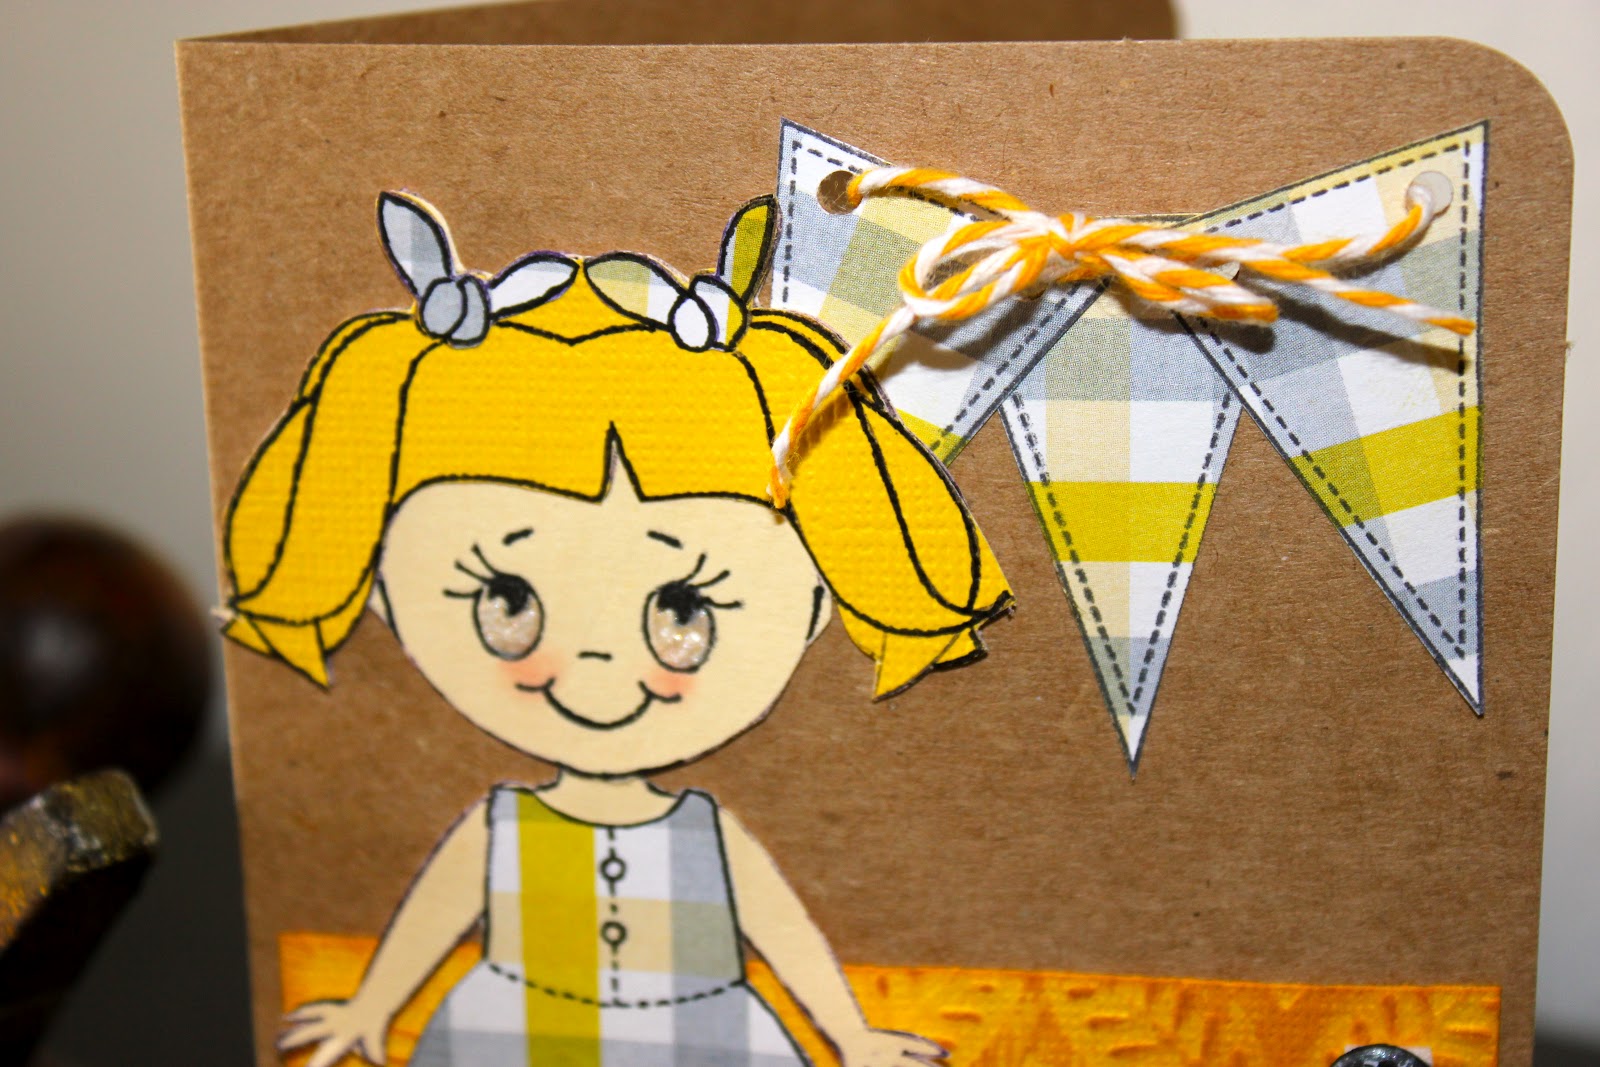
  • Peachy Keen SC-07 2012 for my doll faces
  • a flouncy burlap flower on the top corner

More Specific Materials

  • gelly roll pen for the whites of my doll's (AKA Katie and Kyle) eyes
  • Cuttlebug embossing folder for her leopard print dress. :)
  • button
  • baker's twine


More Specific Materials

  • My Creative Time's "Coffee Break" stamp set (I heat embossed the A and the little flower below)
  • more buttons


That's all for now. Thanks for reading and stopping by. Have a fabulous week!

xo,

Katie A.

Monday, October 22, 2012

Happy Birthday, Iz!

Hi Everyone!

This week is a big birthday week! It's my 28th birthday on Thursday and my niece's 7th birthday on Sunday. She unfortunately lives in North Carolina, so I will celebrating her from a distance. I will have to get this Nesting Doll card in the mail tomorrow!

In honor of my birthday, I'm treating myself to a little something each day :). Tonight my treat was time to craft and Rock of Ages on Redbox, which is on right now in the background (LOVE the 80's music).

I'm submitting this card to Peachy Keen Stamps: "Just Cards - Word-up Challenge." Making this little doll was actually VERY EASY! It didn't take me as long as my cards normally do. Though this little nesting doll has an ADORABLE face, I do think the sentiment is front and center!

Materials used:
  • Cricut Cindy Loo for the Babushka cut
  • My gypsy to weld the Babushka cut
  • Peachy Keen "Princess Faces"
  • sizzix embossing die for her top layer
  • gell roll pen for her little freckles
  • Tsukneko inks for all of my cuts in coordinating colors
  • My Creative Time's scallop and circle dies and coordinating sentiment
  • button
  • scrap ribbon for her little hairbow
Here is a close-up of the sentiment.


Hope everyone has a wonderful rest of the week! 

<3, Katie A. 


Wednesday, October 17, 2012

Happy Haunting Wreath!

Hi Guys!

Hope you are having a great week! So happy that Friday is almost here. Today I have a post for you right in what I THOUGHT was the nick of time to submit to the Peachy Keen Color Challenge #39, but I missed it! SO SAD!!!!! Oh well. :( I will submit it to: Twineology October Spook-tacular Challenge, and Cupcake Craftroom "Anything Goes in Autumn" Challenge.

I have to say, for getting this done tonight, I'm pretty proud of it! :) It's going straight to my classroom in the morning! We'll see if my kids love it as much as I do. lol.


Materials:

  • About a 6 inch wreath wrapped in purple ribbon
  • Peachy Keen Princess Faces for my cute, little witch's face on the bottom, Peachy Keen Everyday Face Assortment for my monster (I use my own M.A.C. blush for the little cheeks and apply with a q-tip) I thought I would let you in on the secret. :)
  • Cricut Paper Doll Dress Up 
  • Mini Monsters for the monster, the spiderwebs, and the "Happy Haunting" sentiment
  • pinwheels using my Martha Stewart scoreboard
  • sizzix embossing folder for the sentiment and roof
  • lots of buttons and random ribbon
  • baker's thread


Thanks for visiting! Hope you have a great rest of your week!

<3, Katie A.

Sunday, October 14, 2012

Trellis Card

Hello!

Today, I have a card to submit to a couple of challenges:
Emma's "My Creative Time" Thursday Designer Challenge and "Little Scrap Pieces," Fun Friday Fall Colors Challenge.

For Emma's challenge, you had to use 3 flowers plus bling on a layout or a card using brown, pastel yellow, and pastel blue. The card base and the brown ribbon looks very fall to me, which is why I also submitted it to Little Scrap Pieces challenge. Emma's flower requirement inspired me to make a background that resembled a trellis, and the vision only came halfway to fruition. :) I just started by adhering ribbon in a cross cross fashion.

Instead of having 3 flowers spread out, I stacked 3 flowers.


Materials on the outside of card:

  • flower layers: on the bottom I used Tim Holtz "Tattered Flowers," the middle is Emma's scallop and circle die (the scallop is stamped using Emma's Build a Banner Kit polka-dot stamp), and the top is Emma's rolled flower die.
  • a little iridescent gem in the middle of the flower
  • the sentiment is from Emma's "All Around Everything"
  • brown ribbon

Materials on the inside of card: 

  • blue cardstock to cover the brown ribbon that was criss crossed on the front.
  • flower layers: on the bottom I used Tim Holtz "Tattered Flowers," the middle is Emma's scallop and circle die (the scallop is stamped using Emma's Build a Banner Kit polka-dot stamp)
  • the sentiment is from Emma's "All Around Everything"
This was a very simple and easy card! Thanks for visiting me. Hope you have a wonderful week!

<3, Katie

Saturday, October 6, 2012

Just a Note!

Hi Everyone,

A quick post for you this weekend: "Just a Note" Greeting Card was made with lots of love using:

  • Peachy Keen Stamps: PKSC-07 July 2012
  • Cuddlebug Embossing for the back yellow panel
  • faux brads w/ pop dots
  • Scrappy Moms Sentiment
  • Baker's twine for the banner


As I paper pieced the various details for this little girl, my husband and my sister told me I was crazy because of how labor intensive it was. However, her little gingham dress makes all of that time worth it! :) I will be submitting this card to the Peachy Keen Challenge 38 :: Anything Goes.

Have a wonderful rest of the weekend!

<3, Katie